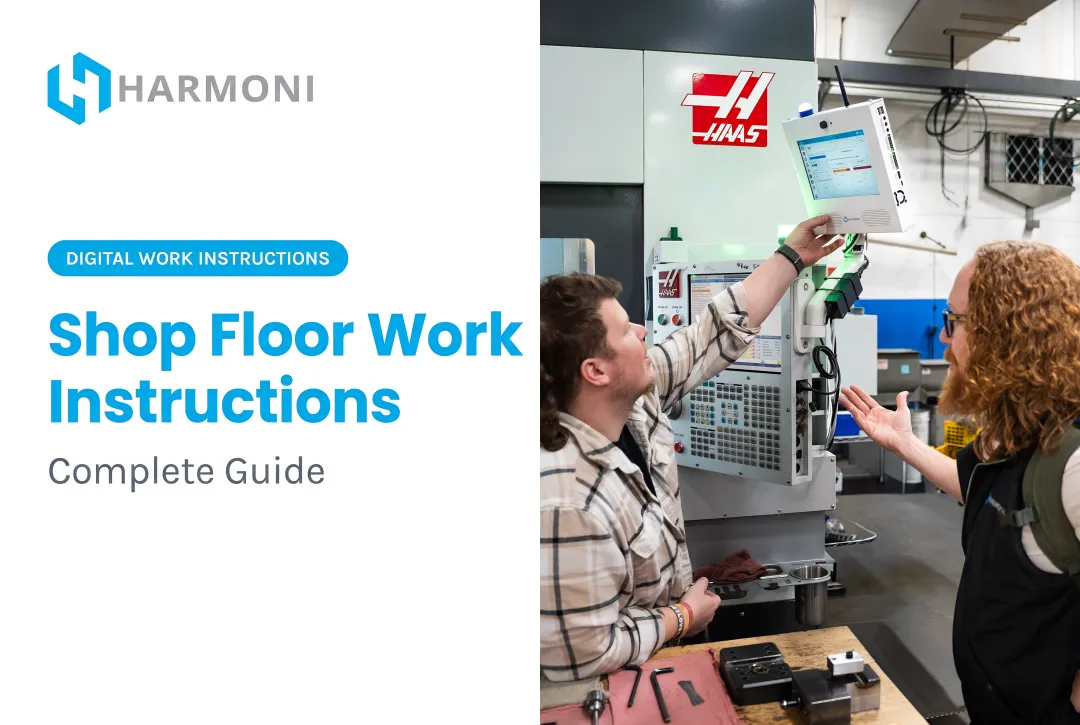

The gap isn't in the concept. Most manufacturers understand that visuals beat text. The gap is in execution: instructions built from memory instead of observed process, photos taken from the wrong angle, steps bundled together when they should be separate. The difference between instructions operators trust and ones they ignore almost always traces back to preparation, structure, and visual quality.
This guide covers what visual work instructions are, what you need before you start, a six-step creation process, the elements that separate effective from ineffective instructions, and the most common mistakes to avoid.
Key Takeaways
- Visual work instructions combine images, diagrams, annotations, and minimal text to guide workers step by step.
- They deliver the most value in complex assembly, high-volume production, multilingual workforces, and safety-critical tasks.
- Effective VWIs require upfront process mapping and direct operator involvement to work in practice.
- The creation process follows six steps, from audience definition to digital deployment.
- Common failures include skipping live process review, overloading steps with text, and never testing with real workers.
What Are Visual Work Instructions?
Visual work instructions (VWIs) are step-by-step operational guides that use photographs, diagrams, annotated images, and short video clips — with minimal text — to show workers exactly how to complete a task. They are distinct from text-heavy SOPs or generic training manuals, which describe what should happen. Either format still documents the process rather than enforcing it, though: what closes that gap is the instruction arriving at the machine with the right revision and the ERP job attached, so what is shown and what is actually run are the same thing. VWIs show how it looks when done correctly.
Research from MIT shows the brain can extract meaning from an image in as little as 13 milliseconds. Controlled assembly studies confirm that visual instructions outperform text for task speed, especially among novice operators. On a busy shop floor, workers cannot stop to read dense paragraphs mid-operation — and a missed step in a dense SOP looks identical to a read step.
When to Use Visual Work Instructions
VWIs deliver the highest value in specific situations:
- Complex or multi-step assembly tasks where sequence errors cause defects
- High-volume repetitive operations where small errors accumulate quickly
- Onboarding new operators who lack process familiarity
- Multilingual workforces where language barriers raise misinterpretation risk — foreign-born workers make up 19.1% of the U.S. civilian labor force and are well-represented in production occupations
- Safety-critical tasks where a missed step causes injury or a quality escape

Not every task needs a VWI. Single-action operations already embedded in experienced operator muscle memory rarely benefit from full visual documentation. Match the format to the complexity of the task.
What You Need Before Creating Visual Work Instructions
Whether your VWIs get used or ignored often comes down to preparation. Most failed implementations aren't caused by bad visuals — the groundwork was skipped before a single image was captured.
Equipment, Tools, and Access
Before capturing a single image:
- A camera or smartphone capable of clear, close-up shots in variable lighting
- Video recording capability for steps involving movement, orientation, or torque sequences
- Direct access to the actual workstation and equipment — not a mockup
- A digital authoring platform that supports annotated images and video
Avoid creating VWIs in static PDF or Word formats. They can't be updated in real time, can't track usage, and create version control problems the moment the process changes.
Process and Content Inputs
Confirm you have the following before writing a single step:
- The most current version of the process (not last year's revision)
- Engineering drawings and quality specs
- Tooling requirements and applicable standards (ISO 9001, IATF 16949, AS9100, etc.)
Building VWIs on outdated process data is one of the most common failure points. The instruction becomes wrong before it's even published.
Stakeholder and Operator Involvement
Involve experienced operators and process engineers before you start writing. They execute micro-steps automatically — steps a new operator would miss entirely if left undocumented. Operators who help build the instructions are also far more likely to trust and follow them. Their input is where completeness is either established or quietly lost.
How to Create Visual Work Instructions Step by Step
Creating effective VWIs is a repeatable process. These six steps, followed consistently, produce instructions that operators can understand, execute, and reference in real time.
Step 1: Define Your Audience and Task Scope
Identify who will use the instructions and what prior knowledge can be assumed. A new CNC operator needs more contextual detail and safety callouts than a certified machinist running a familiar setup. Write for the least experienced person who will reasonably use this instruction.
Narrow the scope to a single task. Don't bundle multiple procedures into one instruction set. Define a clear start point and end point: "from fixture loaded to first part measured" is a scope. "Machining" is not.
Step 2: Map the Full Process End to End
Before capturing any visuals, have an experienced worker perform the entire task from start to finish while someone records it. Watch the recording as an outsider and note every action, tool interaction, measurement check, and decision point that a first-time operator could miss.
During review, watch specifically for:
- Tool interactions that happen faster than expected
- Measurement checks that aren't explicitly cued by the process
- Informal workarounds experienced workers do without thinking
- Decision points that branch the process based on part condition
Cross-reference your observations against any existing documentation. The gap between what the process document says and what workers actually do is often significant. Your VWI should reflect actual practice, not the idealized version.
Step 3: Break the Process into Clear, Sequential Steps
Decompose the full process into discrete, single-action steps. Each step should represent one observable action, not a cluster of activities. "Assemble the housing" is a cluster. "Insert the O-ring into the lower groove and press until flush" is a step.
Arrange steps in the exact sequence they must be performed. Flag any decision points explicitly: "If dimension is outside tolerance, escalate to quality before continuing." Don't leave branching logic implied.

Step 4: Capture and Select the Right Visuals for Each Step
For each step, capture images from the operator's physical perspective: the angle they actually see from their position at the machine. A bird's-eye shot from above a fixture means nothing to someone standing in front of it.
Take multiple shots per step and select the clearest. Use short video clips (roughly 5–15 seconds) for steps involving hand movements, torque sequences, or tool orientation where a still image can't capture the motion.
Image quality basics:
- Adequate, consistent lighting — no harsh shadows on the work area
- Component or action clearly in focus, not the surrounding clutter
- No irrelevant objects in frame that could distract or confuse
- No personally identifiable information visible
Step 5: Add Concise Text, Annotations, and Callouts
Layer annotations directly onto images: arrows pointing to the exact fastener, numbered callouts indicating sequence, tolerance boxes highlighting critical dimensions. The annotation does the work; text supplements it.
Each step's written component should be one or two action-oriented sentences in active voice. "Torque bolt to 25 Nm" — not "The bolt should be torqued to a value of 25 Nm."
Maintain consistent naming conventions across all steps and all instruction sets in the facility. If one instruction calls it a "retaining clip" and another calls it a "snap ring," operators will hesitate, and hesitation causes errors.
Step 6: Test, Gather Feedback, and Deploy Digitally
Before publishing, have one or two workers with varying experience levels run through the instructions independently. Watch where they hesitate, where they ask questions, and where they make assumptions. Those moments are the gaps in your instruction.
Revise based on their direct feedback, then deploy digitally at the point of use.
Paper-based VWIs break down the moment a process changes. Reprinting and redistribution introduce lag, and version mismatches are almost inevitable. Digital delivery solves this directly:
- Updates push in real time without requiring reprints or redistribution
- Version control ensures operators always reference the current revision
- Usage tracking confirms instructions are being accessed and followed
- Quality checksheets integrate into the same interface, tying inspection to the production step

Harmoni's factory orchestration platform deploys work instructions directly at each workcenter terminal. When an operator clocks in and selects a job, the system surfaces the correct instruction for that specific job, part, and revision automatically — no manual lookup required.
Key Elements That Make Visual Work Instructions Effective
Two manufacturers can follow the same creation steps and produce very different outcomes. The quality of specific elements within each instruction determines whether it reduces errors or just adds digital clutter.
Visual Clarity and Operator Perspective
Visuals must be captured from the operator's point of view. Instructions shot from an angle the operator never sees create disorientation: the worker has to mentally rotate the image before acting on it, which defeats the purpose.
Layered Visual Elements
There's a significant difference between a single photo and a properly layered instruction. Effective VWIs use multiple visual layers per step:
- Annotated arrows pointing to the exact fastener or location
- Picture-in-picture zoom on a critical dimension or tolerance
- Numbered sequence overlays guiding the order of operations
- Short video clips for motion-dependent steps
Appropriate Depth for Skill Level
A single instruction set rarely serves all workers equally. New operators need contextual detail and safety callouts. Experienced workers need speed and critical-step focus.
Design instructions with layered detail — through expandable sections, skill-level modes, or separate beginner/expert versions — rather than forcing everyone through the same granularity.
Text Brevity and Standardized Language
When text dominates over visuals, the instruction loses its purpose. Each step's written component should be a brief command, not an explanation. Standardized terminology across all instruction sets matters: inconsistent naming of tools or parts creates confusion, especially when operators cross-train or transfer between workcenters.
Version Control and Accessibility
Effective VWIs are living documents. Every time a process, tool, material, or spec changes, the instruction must update — and that update must reach every operator immediately.
Paper and PDF-based systems struggle with this in predictable ways:
- Redistribution takes time, leaving operators working from outdated instructions
- Version mismatches accumulate across workcenters without a centralized control point
- There's no way to confirm who has seen the updated version
Digital systems with version control eliminate these risks at the source.
Common Mistakes When Creating Visual Work Instructions
Most VWI implementations that fail do so not because of a flawed concept, but because of avoidable mistakes during creation or deployment.
Skipping the live process review. Writing instructions from memory or existing documentation — without observing the actual task performed — leads to missing micro-steps, incorrect sequencing, and steps that no longer reflect current practice. This single mistake undermines the entire instruction set.
Text-heavy steps defeat the purpose. When authors default to writing paragraphs instead of annotating visuals, instructions become as unusable as the paper documents they were meant to replace. Research supports the picture-superiority effect: people generally show better recognition for pictures than verbal labels under most conditions. If text is dominating your VWI, the visual format is doing no work.
Using generic or low-quality images. Blurry photos, incorrect camera angles, and images with no annotations provide little more value than no image at all. Many teams rush the photography phase and only discover the problem when operators start ignoring the instructions — or worse, making errors the instructions were supposed to prevent.
Failing to test before deployment. Instructions that seem clear to the author often reveal ambiguity the moment someone unfamiliar with the process tries to follow them. A one-operator pre-deployment test catches most of these gaps cheaply. Skipping it shifts those costs downstream: errors, rework, and scrap that a 30-minute walkthrough would have prevented.
Beyond launch, build in a structured feedback loop. The first version of any instruction set is a draft — operators on the floor will surface gaps that even a thorough pre-deployment test missed.

Frequently Asked Questions
What are visual work instructions?
Visual work instructions are step-by-step operational guides that use photographs, diagrams, annotations, and short videos — with minimal text — to show workers how to complete specific tasks. They make complex processes faster to understand and execute than text-only documents, particularly at the point of work.
What are some examples of visual work instructions in manufacturing?
Common examples include CNC setup sheets with annotated photos of tool positions and offsets, assembly instructions with exploded-view diagrams and torque callouts, quality inspection guides showing accept/reject visual standards, and machine changeover procedures with sequential step images.
How do visual work instructions differ from standard operating procedures (SOPs)?
SOPs are broader policy-level documents outlining what should be done and why. VWIs are task-level, operator-facing guides focused on the exact how — built around visuals rather than text, and designed for use at the machine rather than as reference documents.
What tools or software are used to create visual work instructions?
Purpose-built options include digital work instruction platforms, tablet-based authoring apps, and factory orchestration systems — like Harmoni — that deliver VWIs directly to machine-side workcenters with ERP integration. Static tools like Word or PDF lack real-time update and tracking capabilities, making them a poor fit for active shop floors.
How often should visual work instructions be updated?
Update VWIs any time a process, tool, material, or specification changes. Tie reviews to engineering change orders or a set quarterly cadence — and use a digital delivery system so updated instructions reach every operator automatically.
How do visual work instructions reduce errors in manufacturing?
VWIs reduce errors by eliminating ambiguity at the point of execution. They show operators exactly what a correct step looks like, flag critical tolerances and quality checks visually, and ensure that every operator — regardless of experience level — follows the same standardized process.