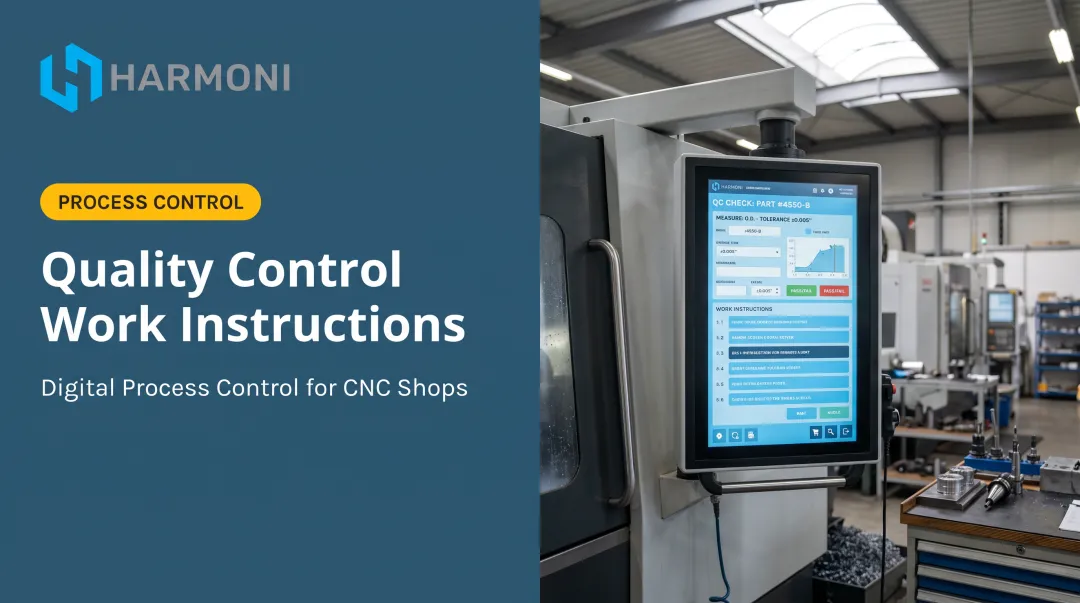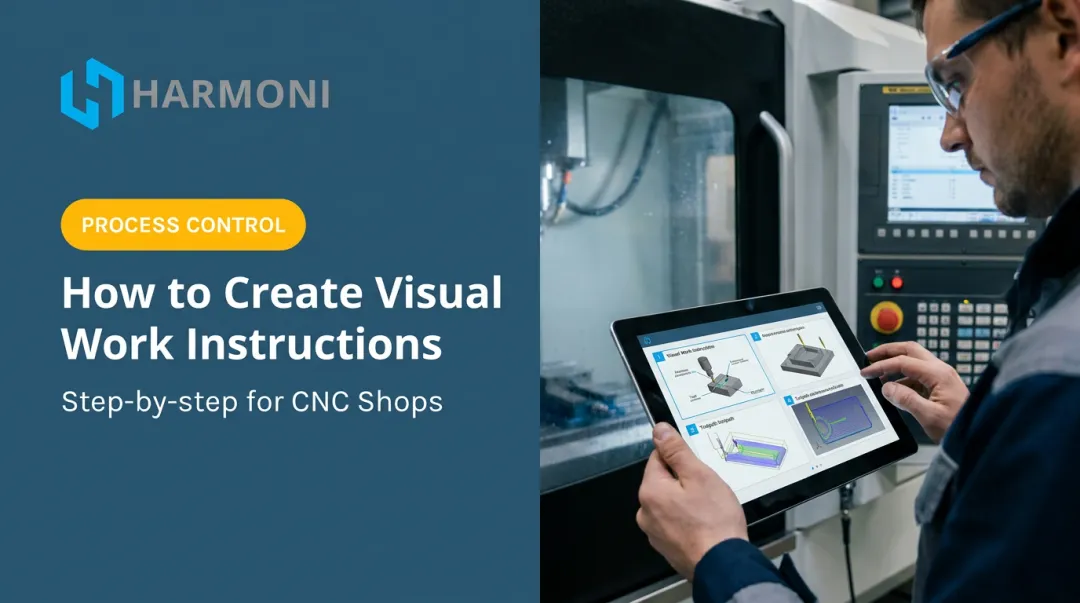

Hand two inspectors the same part with vague instructions, and you'll often get two different verdicts. Unclear or outdated work instructions create inconsistent judgment calls, missed defects, and scrapped parts — costs that compound every shift they go uncorrected.
This guide breaks down what you need to build reliable visual inspection work instructions: the tools, the three core inspection methods, how to interpret results correctly, and the common errors and safety practices that keep the whole process consistent.
Key Takeaways
- Standardized work instructions reduce subjective judgment calls between shifts and inspectors
- Three core methods (Direct, Remote, and Automated) fit different access, hazard, and precision needs
- Clear accept/minor/reject criteria stop two inspectors from judging the same part differently
- Control lighting, fatigue, and instruction revisions to cut the most common inspection errors
- Digital, real-time work instructions cut error rates compared to static paper SOPs
What You Need for Visual Inspection Work Instructions
Choosing the right tools, reference standards, and access conditions is what separates a repeatable inspection process from a guess. Skip this groundwork and even a well-trained inspector is working blind. The instruction itself has the same limit: it sets out how to inspect, but not whether the current revision reached the station or that the check was completed on the job the ERP released — which is what separates a documented inspection from an enforced one.
Tools and Indicators Required
Most visual inspection stations need a consistent set of equipment on hand:
- Flashlights or portable lighting for controlled, glare-free illumination
- Magnifying glasses for close examination of small surface defects
- Borescopes or fiber-optic cameras for areas outside direct line of sight
- Benchmark reference images showing acceptable versus defective parts
- Digital checklists or tablets at the workstation, so criteria stay visible during inspection
Preconditions and Setup
Before inspection starts, access and lighting conditions have to be locked in.
The part must be clean, properly positioned, and stationary. Vibration on a fixture or coolant residue will hide defects that are otherwise obvious.
Lighting angle, distance, and illumination matter more than most shops realize. EN 13018:2016 recommends a minimum of 160 lux for general visual testing and 500 lux for local testing, with the eye within 600 mm of the surface at an angle of at least 30 degrees.
Tools and setup only help if the criteria themselves are current. Static printed binders fall behind revision changes fast: a part revision updates, but the laminated sheet at the workstation doesn't, and the operator inspects against yesterday's tolerance.
Delivering instructions digitally at the workcenter closes that gap. Harmoni's factory orchestration platform uses long-range RFID to identify the operator, the job, and the exact part revision the moment someone approaches the machine. The correct, approved work instruction—tied to that specific revision—displays automatically. No searching, no printed binders, no guessing which version is current.

Methods of Visual Inspection
The right method depends on part accessibility, hazard exposure, required precision, and production volume. Most shops end up using a mix, not just one.
Method 1: Direct Visual Inspection (DVI)
The operator examines the part with the naked eye, sometimes aided by a flashlight or magnifier.
Tools needed:
- Flashlight
- Magnifying glass
- Reference sample
Steps:
- Position the part under adequate, glare-free lighting
- Compare the surface against the benchmark image for the defect types listed in the work instruction
- Record the observation and classify per the defined pass/minor/reject criteria
Pros: Fast, low-cost, and ideal for accessible, routine parts. Cons: Limited by inspector fatigue and judgment drift over long shifts.
Method 2: Remote Visual Inspection (RVI)
RVI uses borescopes, fiber-optic cameras, or drones to inspect hard-to-reach or hazardous areas — anywhere a direct line of sight isn't practical.
Tools needed:
- Borescope or endoscope
- Robotic crawler or drone
- Recording device
Steps:
- Insert or position the camera or scope per the access point defined in the work instruction
- Capture footage or images of the target area from multiple angles
- Review footage against defect criteria in real time or archive for later review
Pros: Improves safety and access for confined or hazardous spaces. Cons: Requires specialized equipment and added setup time.
Airbus reported that its automated indoor inspection drone completed a fuselage inspection in three hours, including 30 minutes of image capture, versus up to a full day using traditional methods.
Method 3: Automated Visual Inspection (AVI)
Cameras paired with machine learning algorithms inspect parts against a trained benchmark model, often without any human review at all.
Tools needed:
- Fixed camera systems
- Image-processing software
- Trained defect-detection model
Steps:
- Capture multiple images of the part from defined angles as it passes the inspection station
- Compare captured images against the trained benchmark model for deviations
- Flag parts outside tolerance for human review or automatic rejection
Pros: Fastest and most consistent option at scale. Cons: Higher upfront cost; still struggles with reflective surfaces or defect types the model hasn't seen before.
BMW's production team applied a neural network to cut false positives where dust and oil were mistaken for hairline cracks.

How to Interpret Visual Inspection Results
Misreading a result cuts two ways. Pass a defective part, and you risk scrap or a field failure. Reject a good one unnecessarily, and you've just added cost and downtime for nothing.
| Classification | What It Looks Like | Required Action |
|---|---|---|
| Acceptable/Pass | Surface is uniform, free of cracks, corrosion, or misalignment beyond defined tolerance | Release part to next process step |
| Minor Issues | Light scratches, minor discoloration within documented tolerance | Log the observation, monitor for trend recurrence |
| Out-of-Spec/Reject | Visible cracks, porosity, corrosion, distortion, or missing components | Quarantine the part, initiate a non-conformance report |
Detection accuracy varies a lot depending on defect type, not just the inspector's skill. A 2022 study of 50 aerospace MRO inspectors examining engine blade images found overall accuracy of 75.5%, but detection ranged from just 19% for airfoil dents up to 100% for nicks. Severity mattered too: detection climbed from 72% for minor severity defects to 99% for the most severe.
That range is exactly why documented, unambiguous criteria matter more than inspector experience alone. Digital checksheets that display target values, tolerances, and required measurement tools before inspection begins close a lot of that gap. Operators aren't relying on memory or a general sense of "that looks off."
Common Errors and Safety Best Practices in Visual Inspection
Common Errors
Most inspection mistakes aren't really about the inspector's eyesight. They come from the conditions around the inspection:
- Inconsistent or insufficient lighting, causing missed or misjudged defects
- Referencing an outdated paper instruction instead of the current approved revision
- Inspector fatigue from repetitive, high-volume inspection, leading to inconsistent classification between shifts
Safety and Best Practices
A few standing practices reduce error rates and keep inspectors safe at the same time:
- Provide PPE and ergonomic support for repetitive inspection tasks, and rotate inspectors to limit fatigue-driven errors
- Standardize viewing distance, angle, and reference samples across every shift and inspector
- Give inspectors a direct escalation path — not a hunt through the shop for a supervisor — when they spot something questionable
Those practices matter most when a deviation is still catchable mid-batch, not after the run is finished. Real-time production visibility tools that combine machine, operator, and job data make that possible.
Harmoni's platform, for instance, surfaces SPC-style trend charts as digital checksheet data comes in. A measurement drifting toward out-of-tolerance shows up as a trend line, not a surprise after 200 parts have already moved through. One shop using this kind of real-time visibility reported a 22% scrap reduction within two months.

Conclusion
Accurate visual inspection depends less on an inspector's eyesight and more on how clearly the work instructions define the tools, the method, and the acceptance criteria. Get those three things right, and you've removed most of the guesswork.
Keep setup conditions consistent every time, and write accept/reject standards so they leave no room for interpretation. When a result comes back, it should trigger a defined action (release, monitor, or quarantine) automatically—not a judgment call left to whoever is at the station that day.
Clear instructions turn inspection from a variable into a controlled step on the floor.
Frequently Asked Questions
What is the difference between visual inspection and visual work instructions?
Visual inspection is the technique of examining a part for defects. Visual work instructions are the documented, step-by-step guidance that standardizes how that inspection gets performed, so results don't vary by inspector.
How often should visual inspection work instructions be updated?
Review them whenever a process, tolerance, or defect type changes. Even without changes, audit them at least annually to confirm the documented steps still match actual practice on the floor.
Can visual inspection be fully automated?
Automated visual inspection handles routine, high-volume checks well, but it still struggles with reflective surfaces and novel defect types. Human inspection remains necessary for those edge cases.
What industries rely most heavily on visual inspection work instructions?
Aerospace, automotive, medical device, and precision CNC manufacturing lean on them heavily, since cosmetic and structural defects carry high safety or compliance stakes in those industries.
What is the difference between Direct Visual Inspection (DVI) and Remote Visual Inspection (RVI)?
DVI is performed with the naked eye on parts the inspector can access directly. RVI uses cameras, borescopes, or drones to inspect hazardous or hard-to-reach areas.
How do you train new operators to perform visual inspections consistently?
Use reference and benchmark images alongside documented pass/minor/reject criteria. Run supervised practice sessions before signing operators off for independent inspection.